Six Twenty One
Back
At the Craps Table
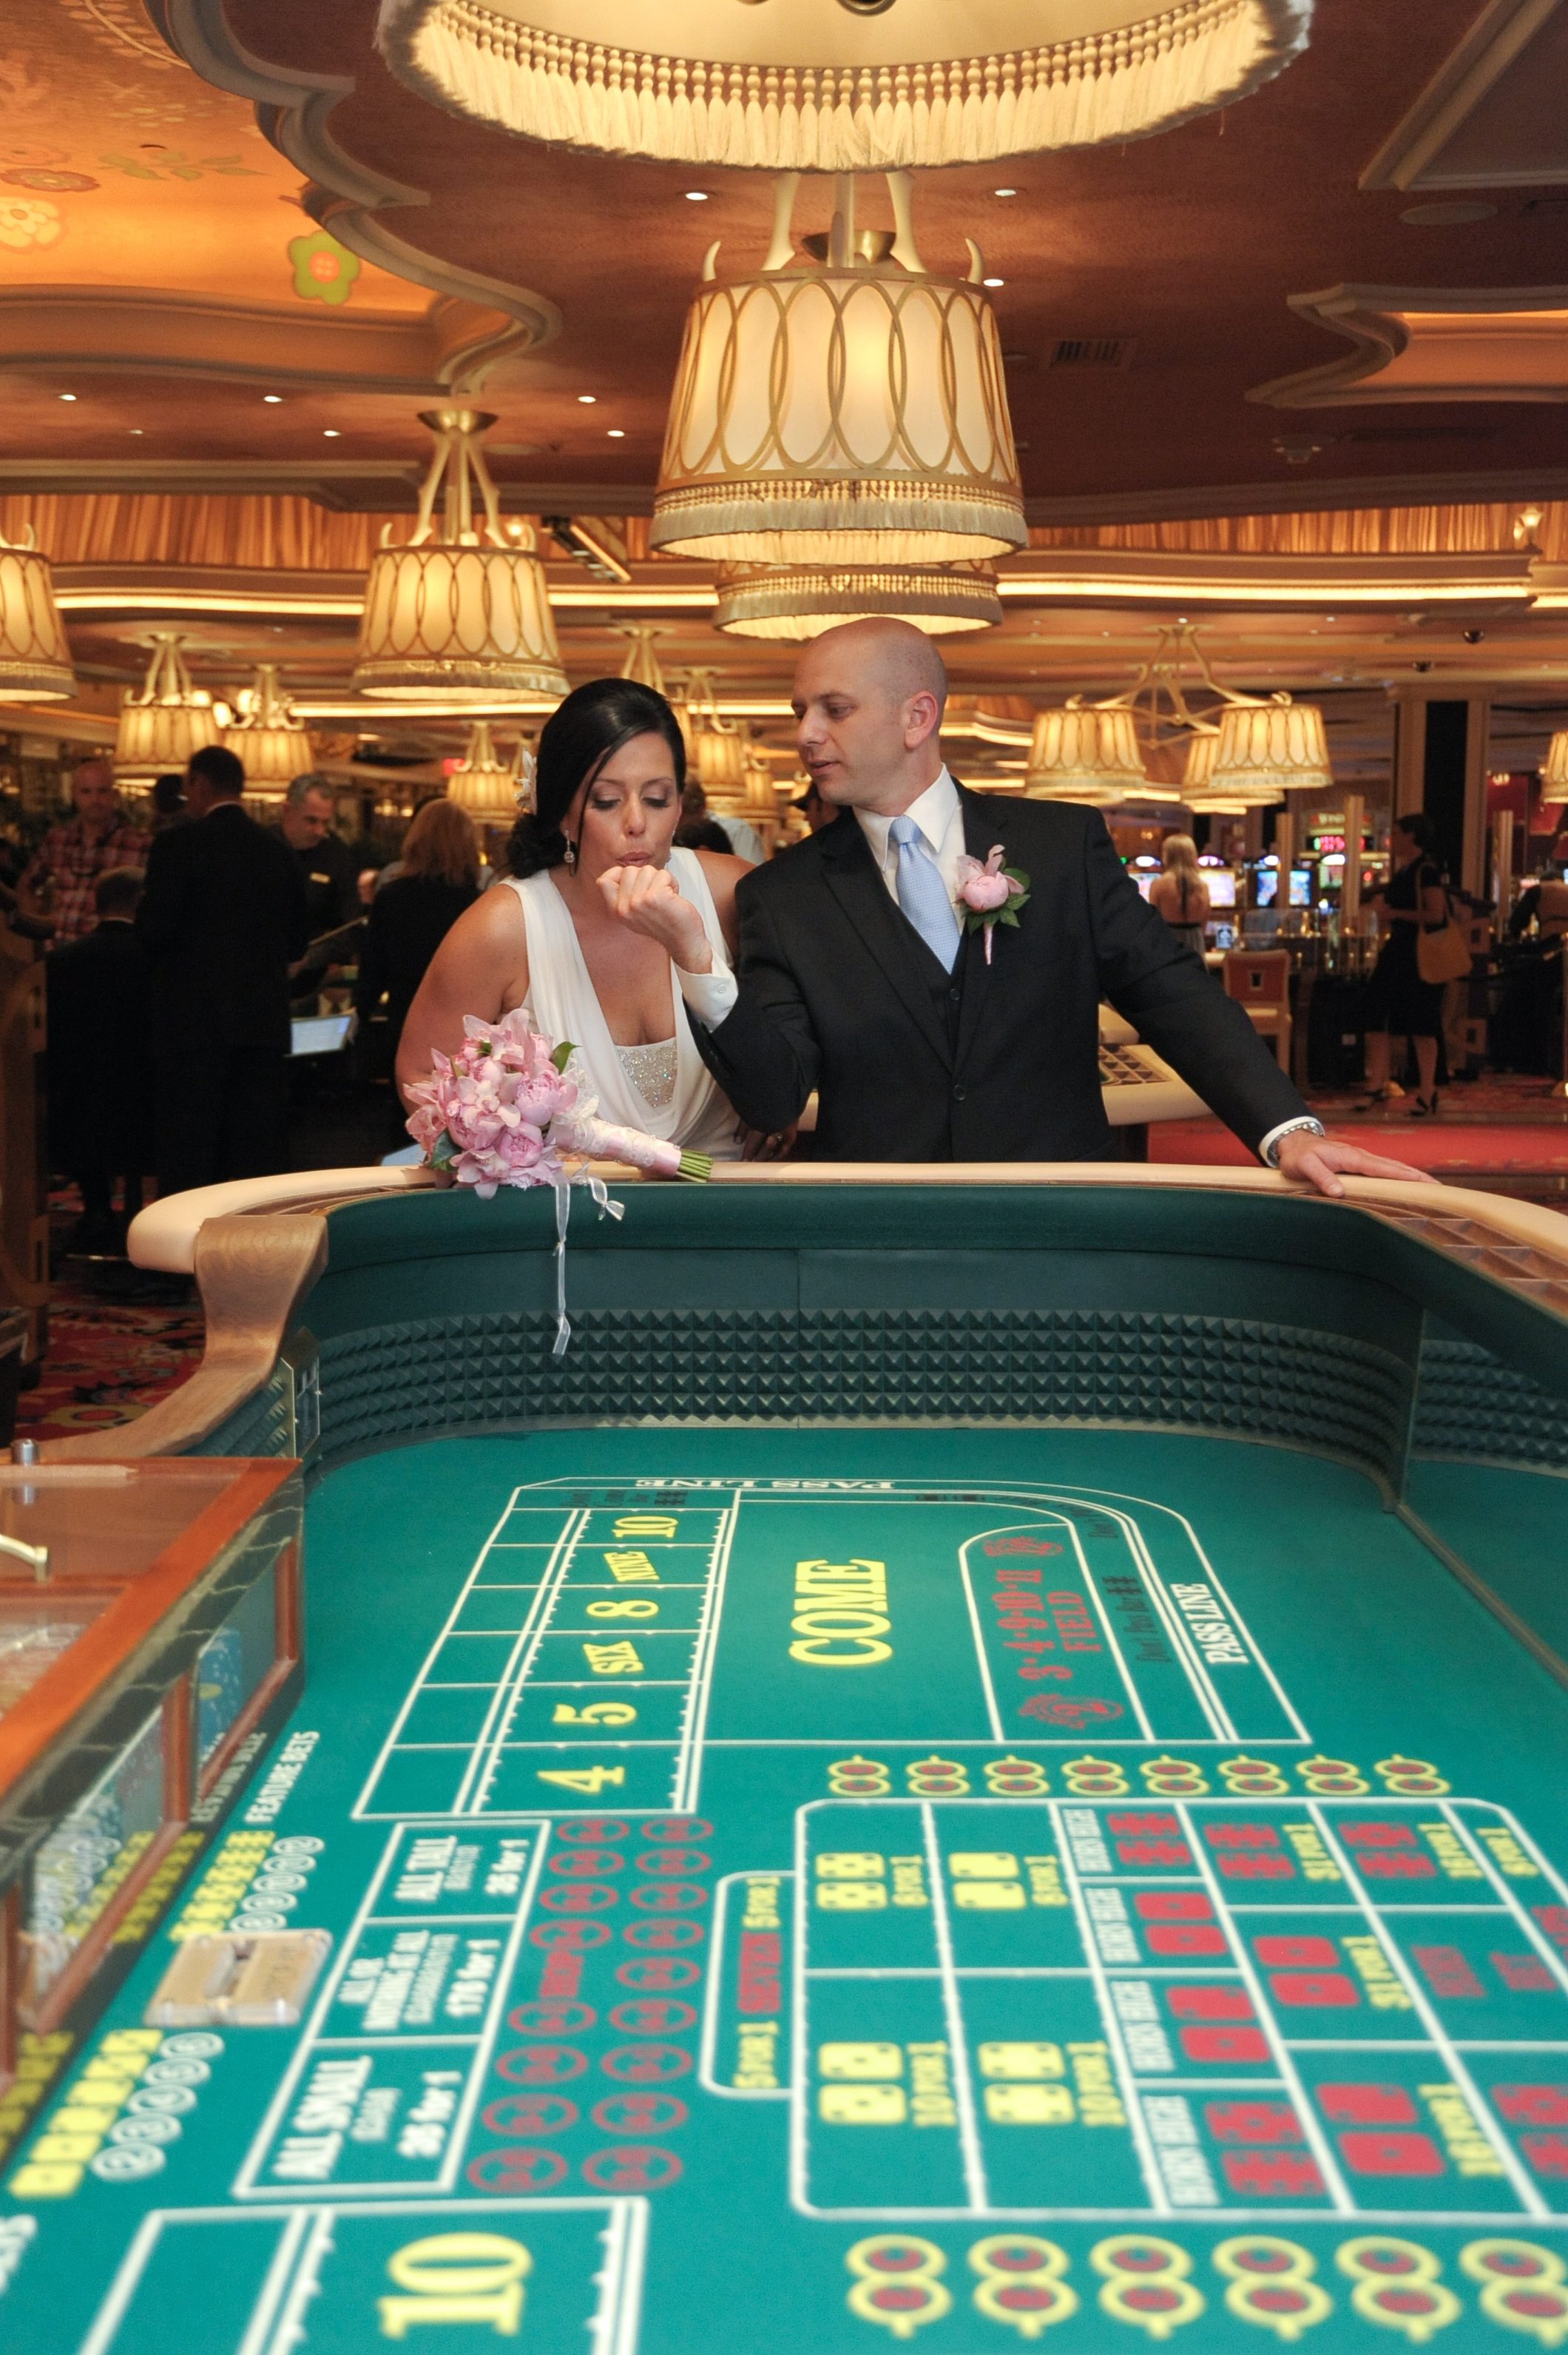
Photo 112
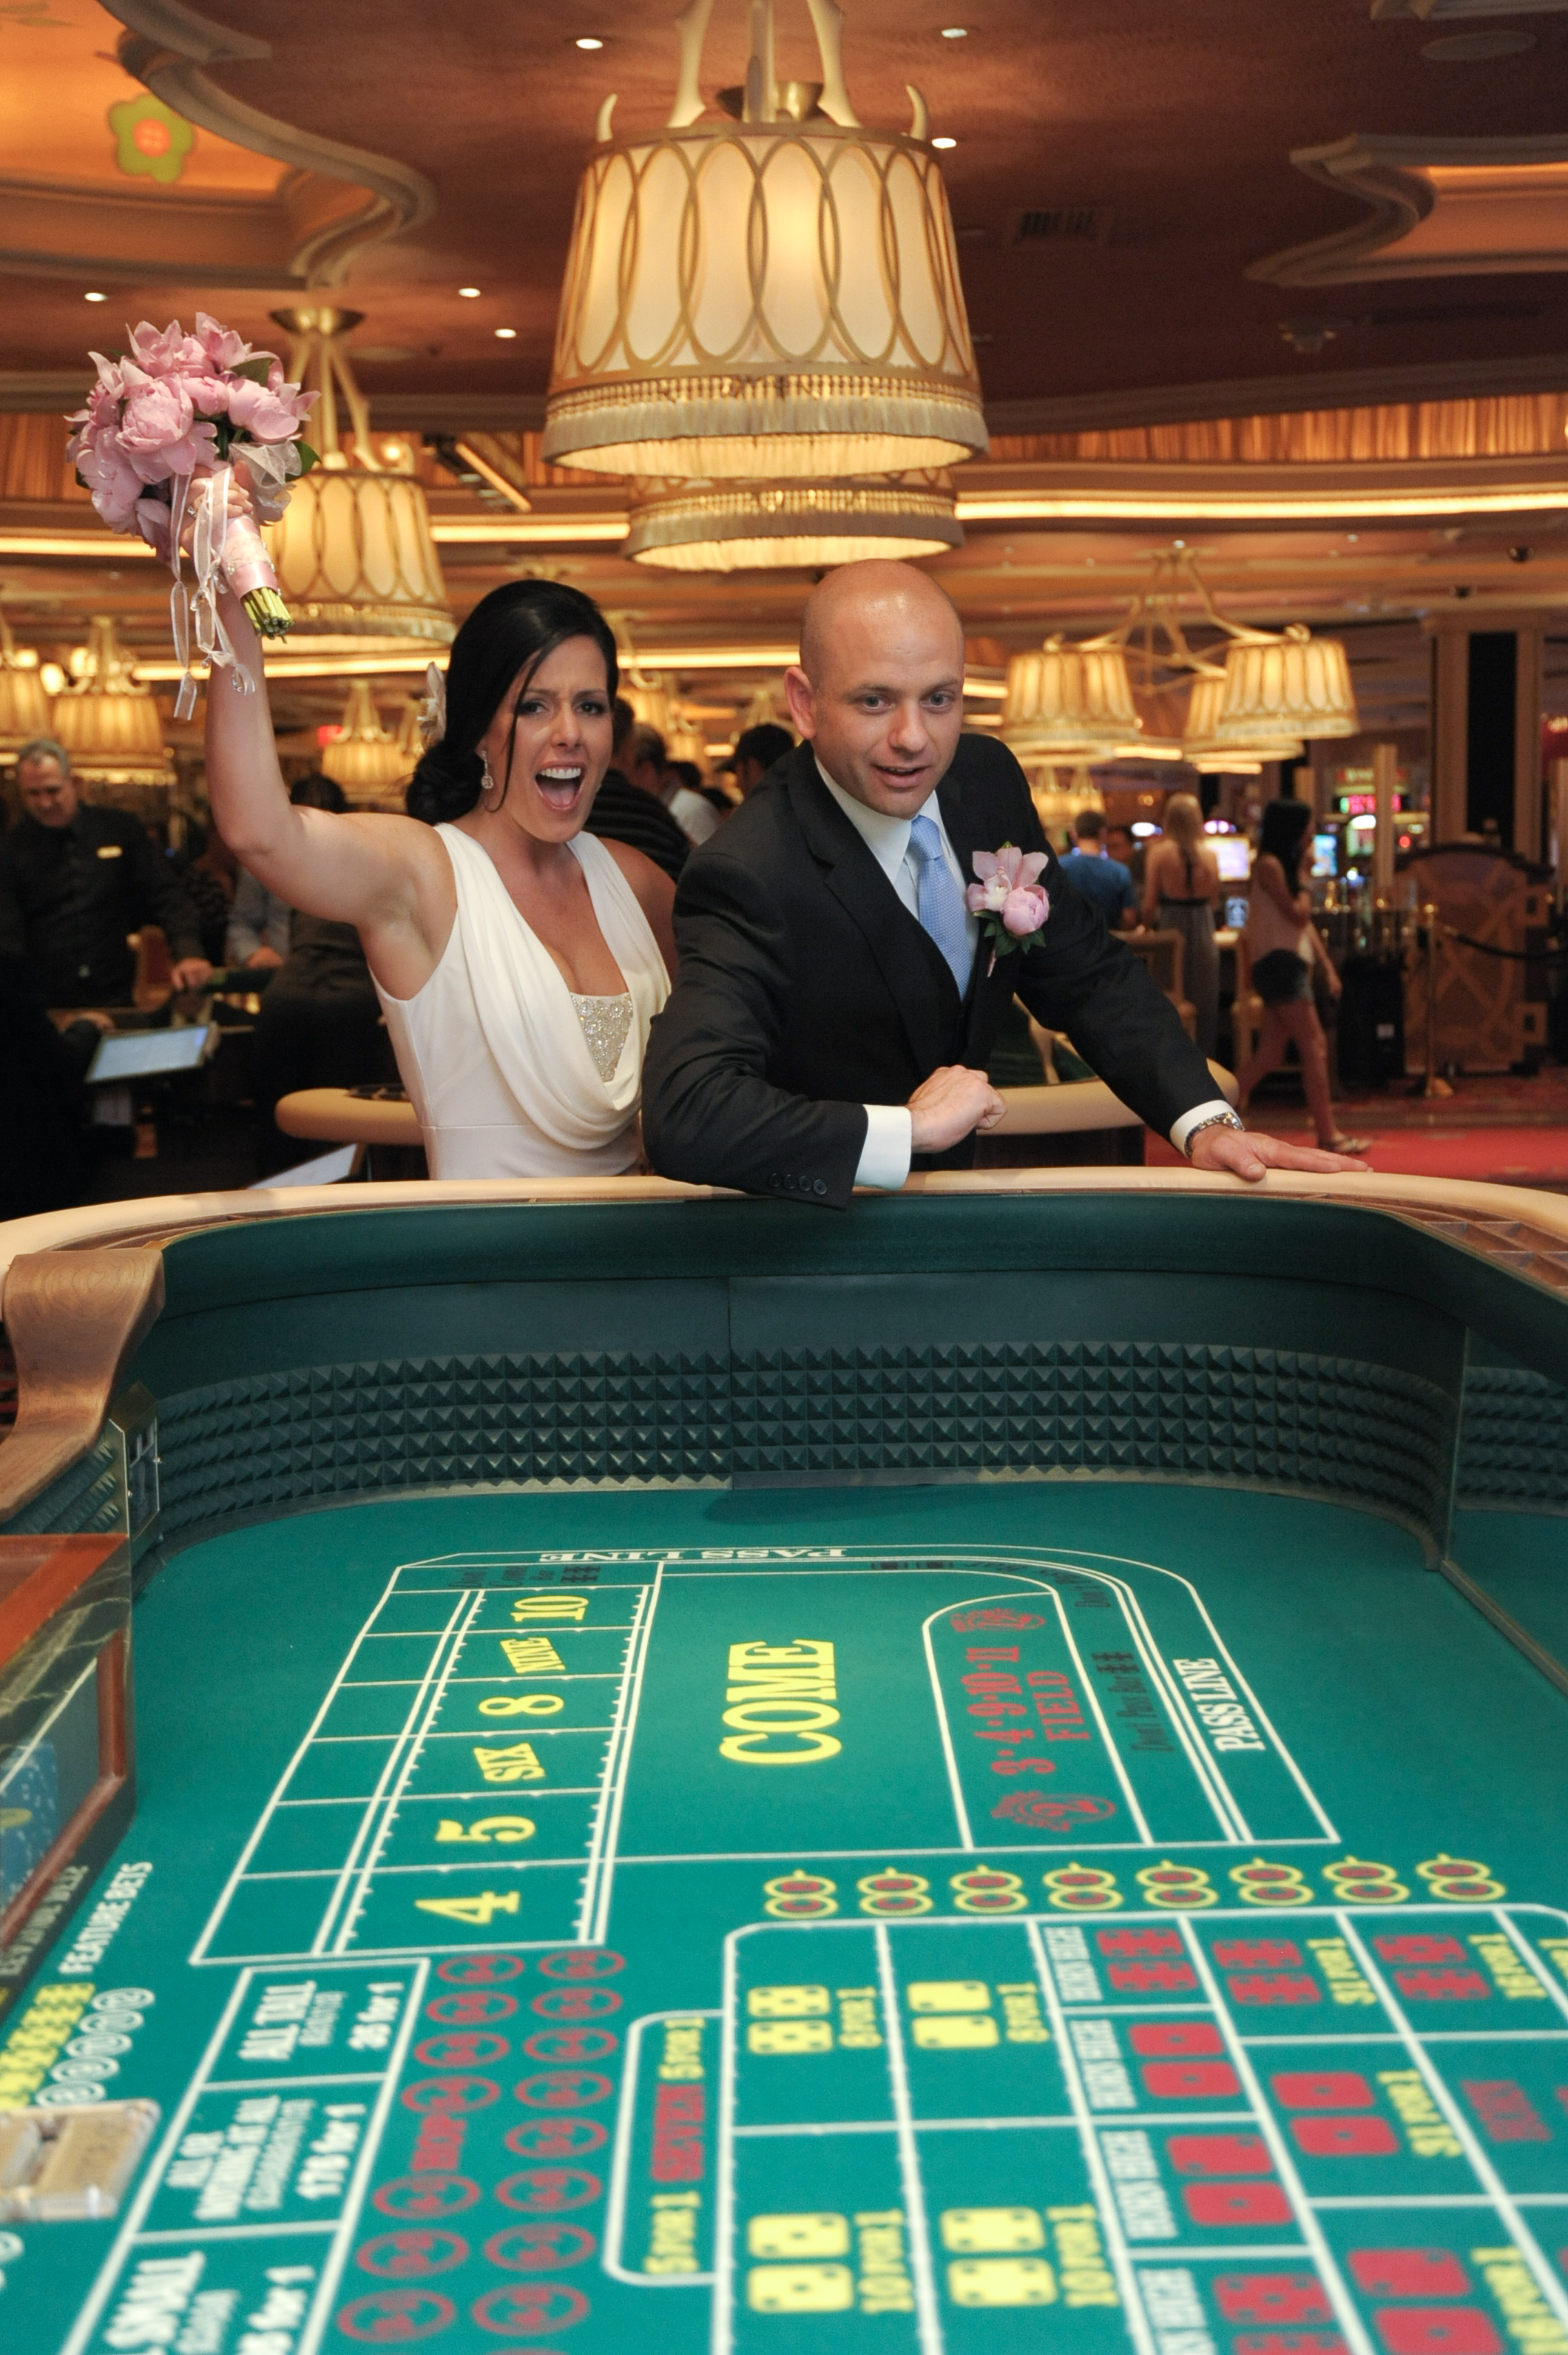
Photo 113
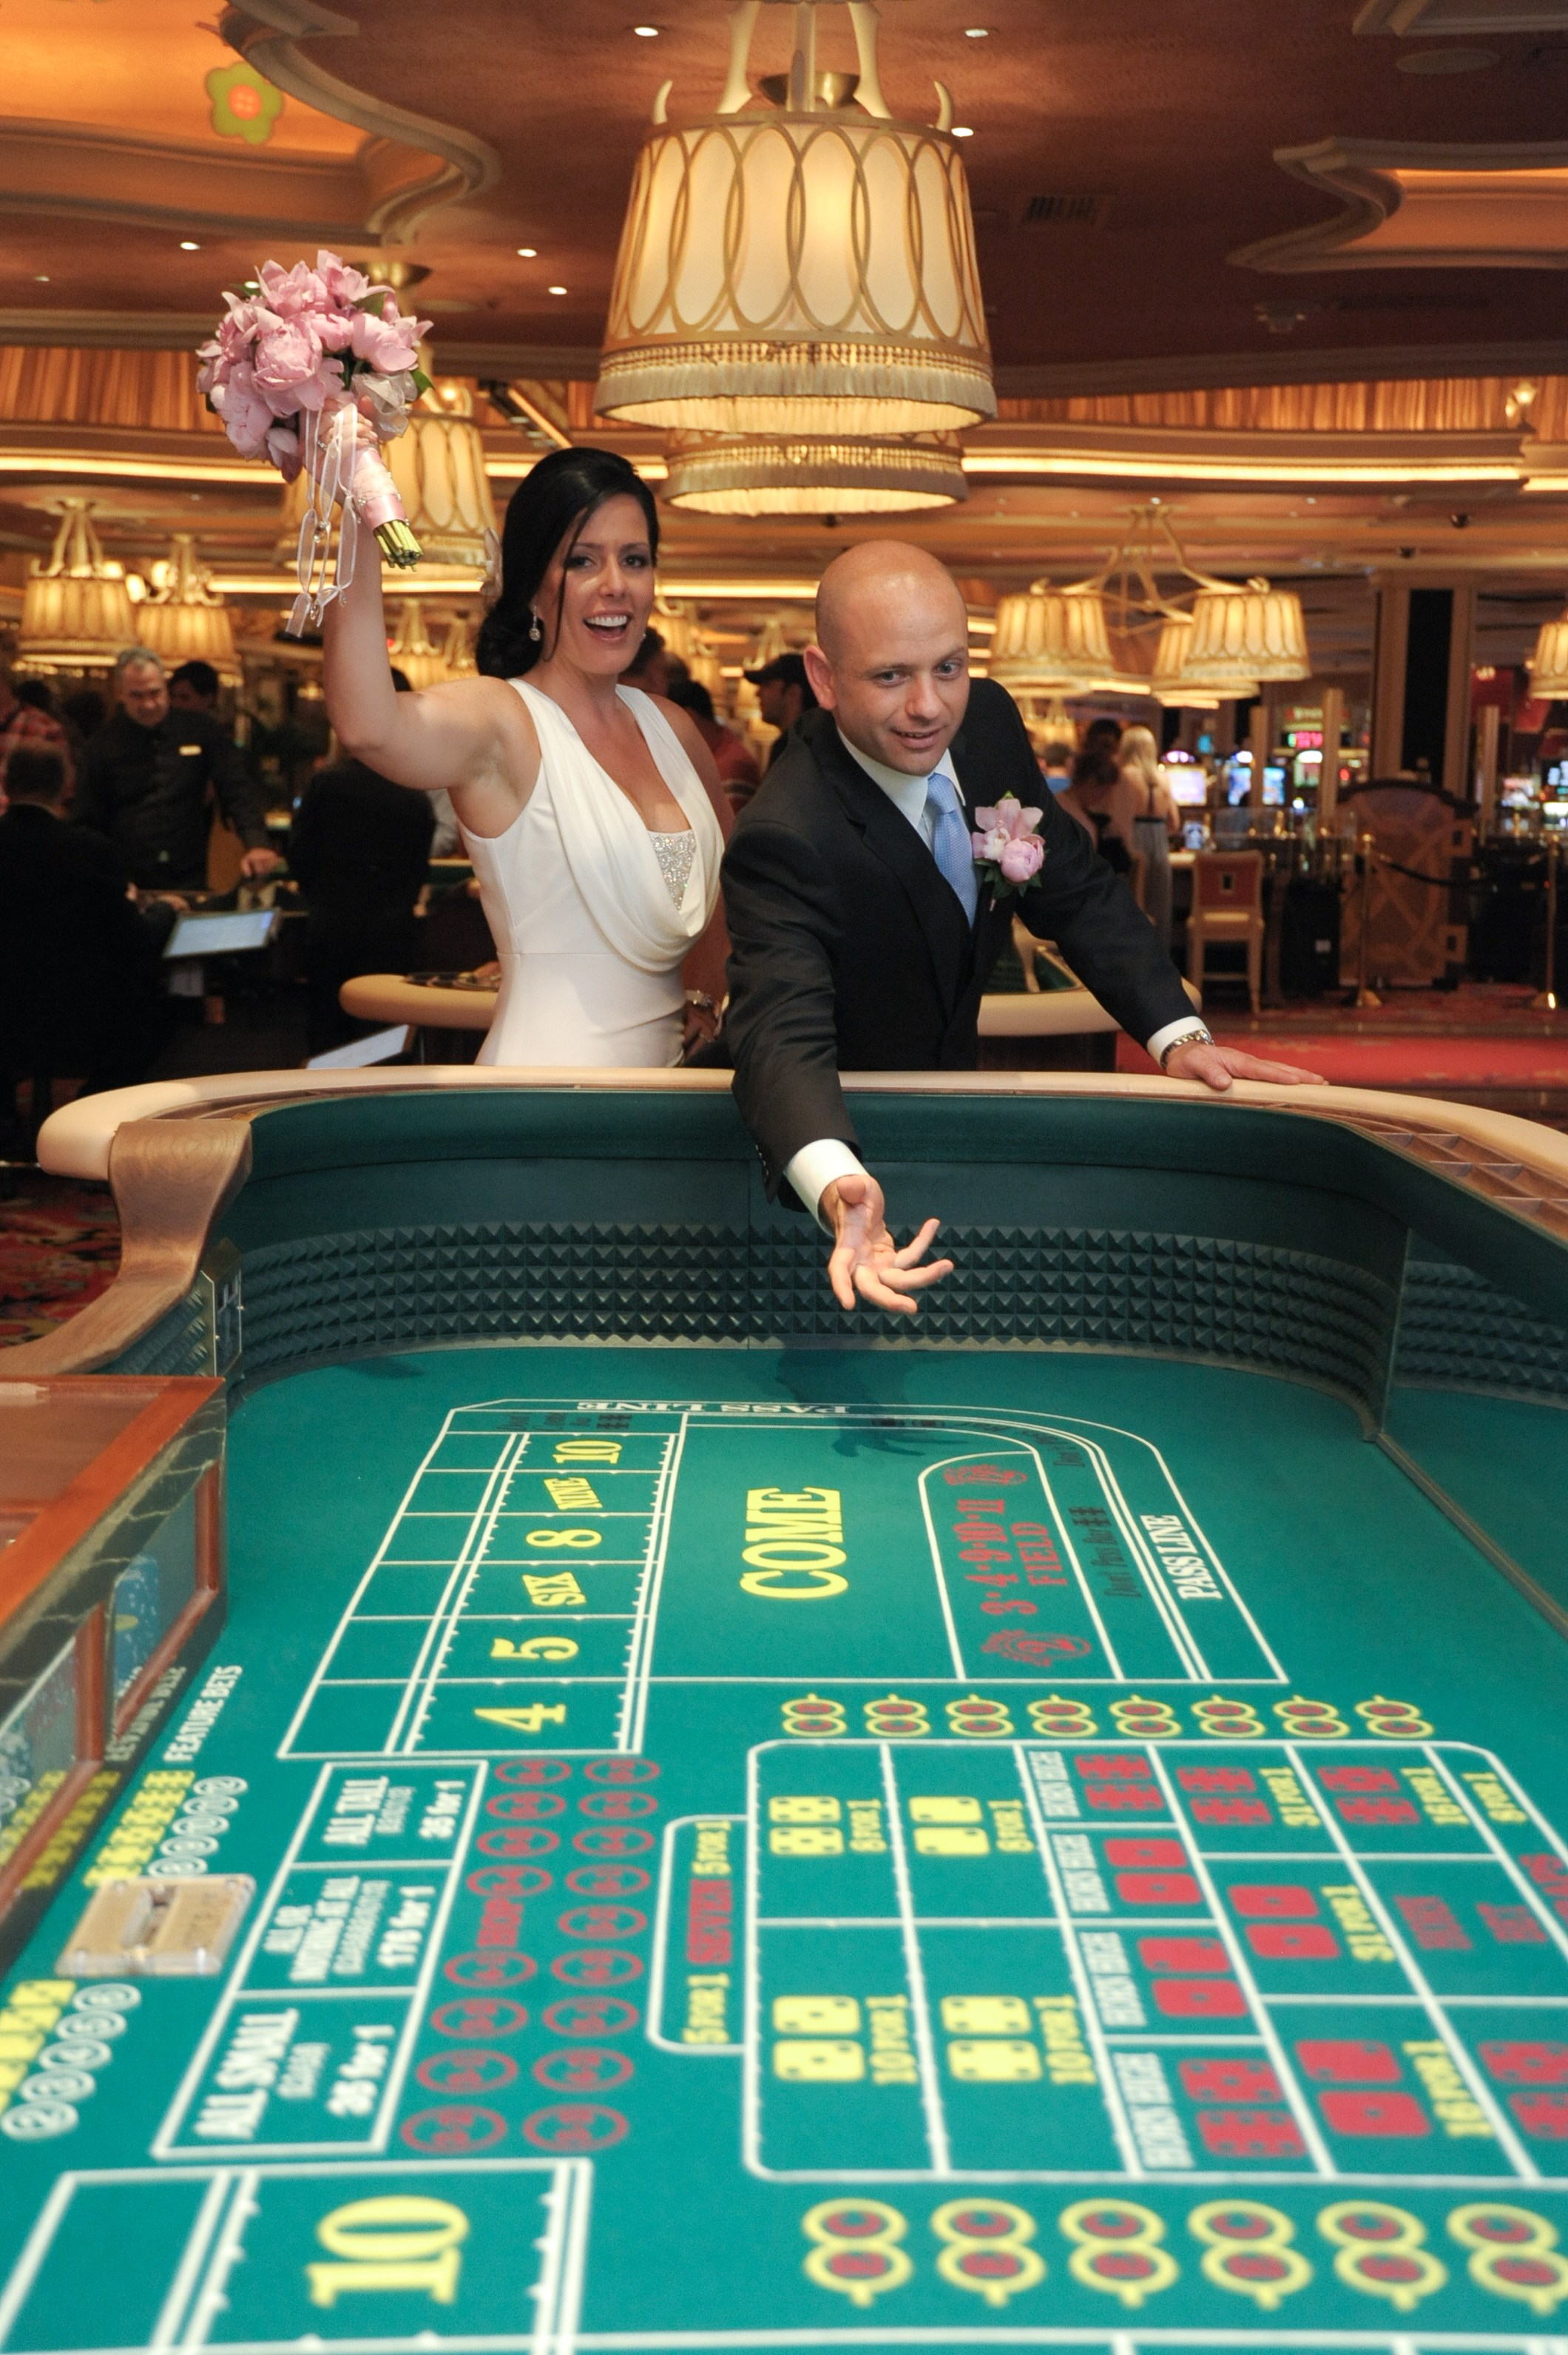
Photo 114
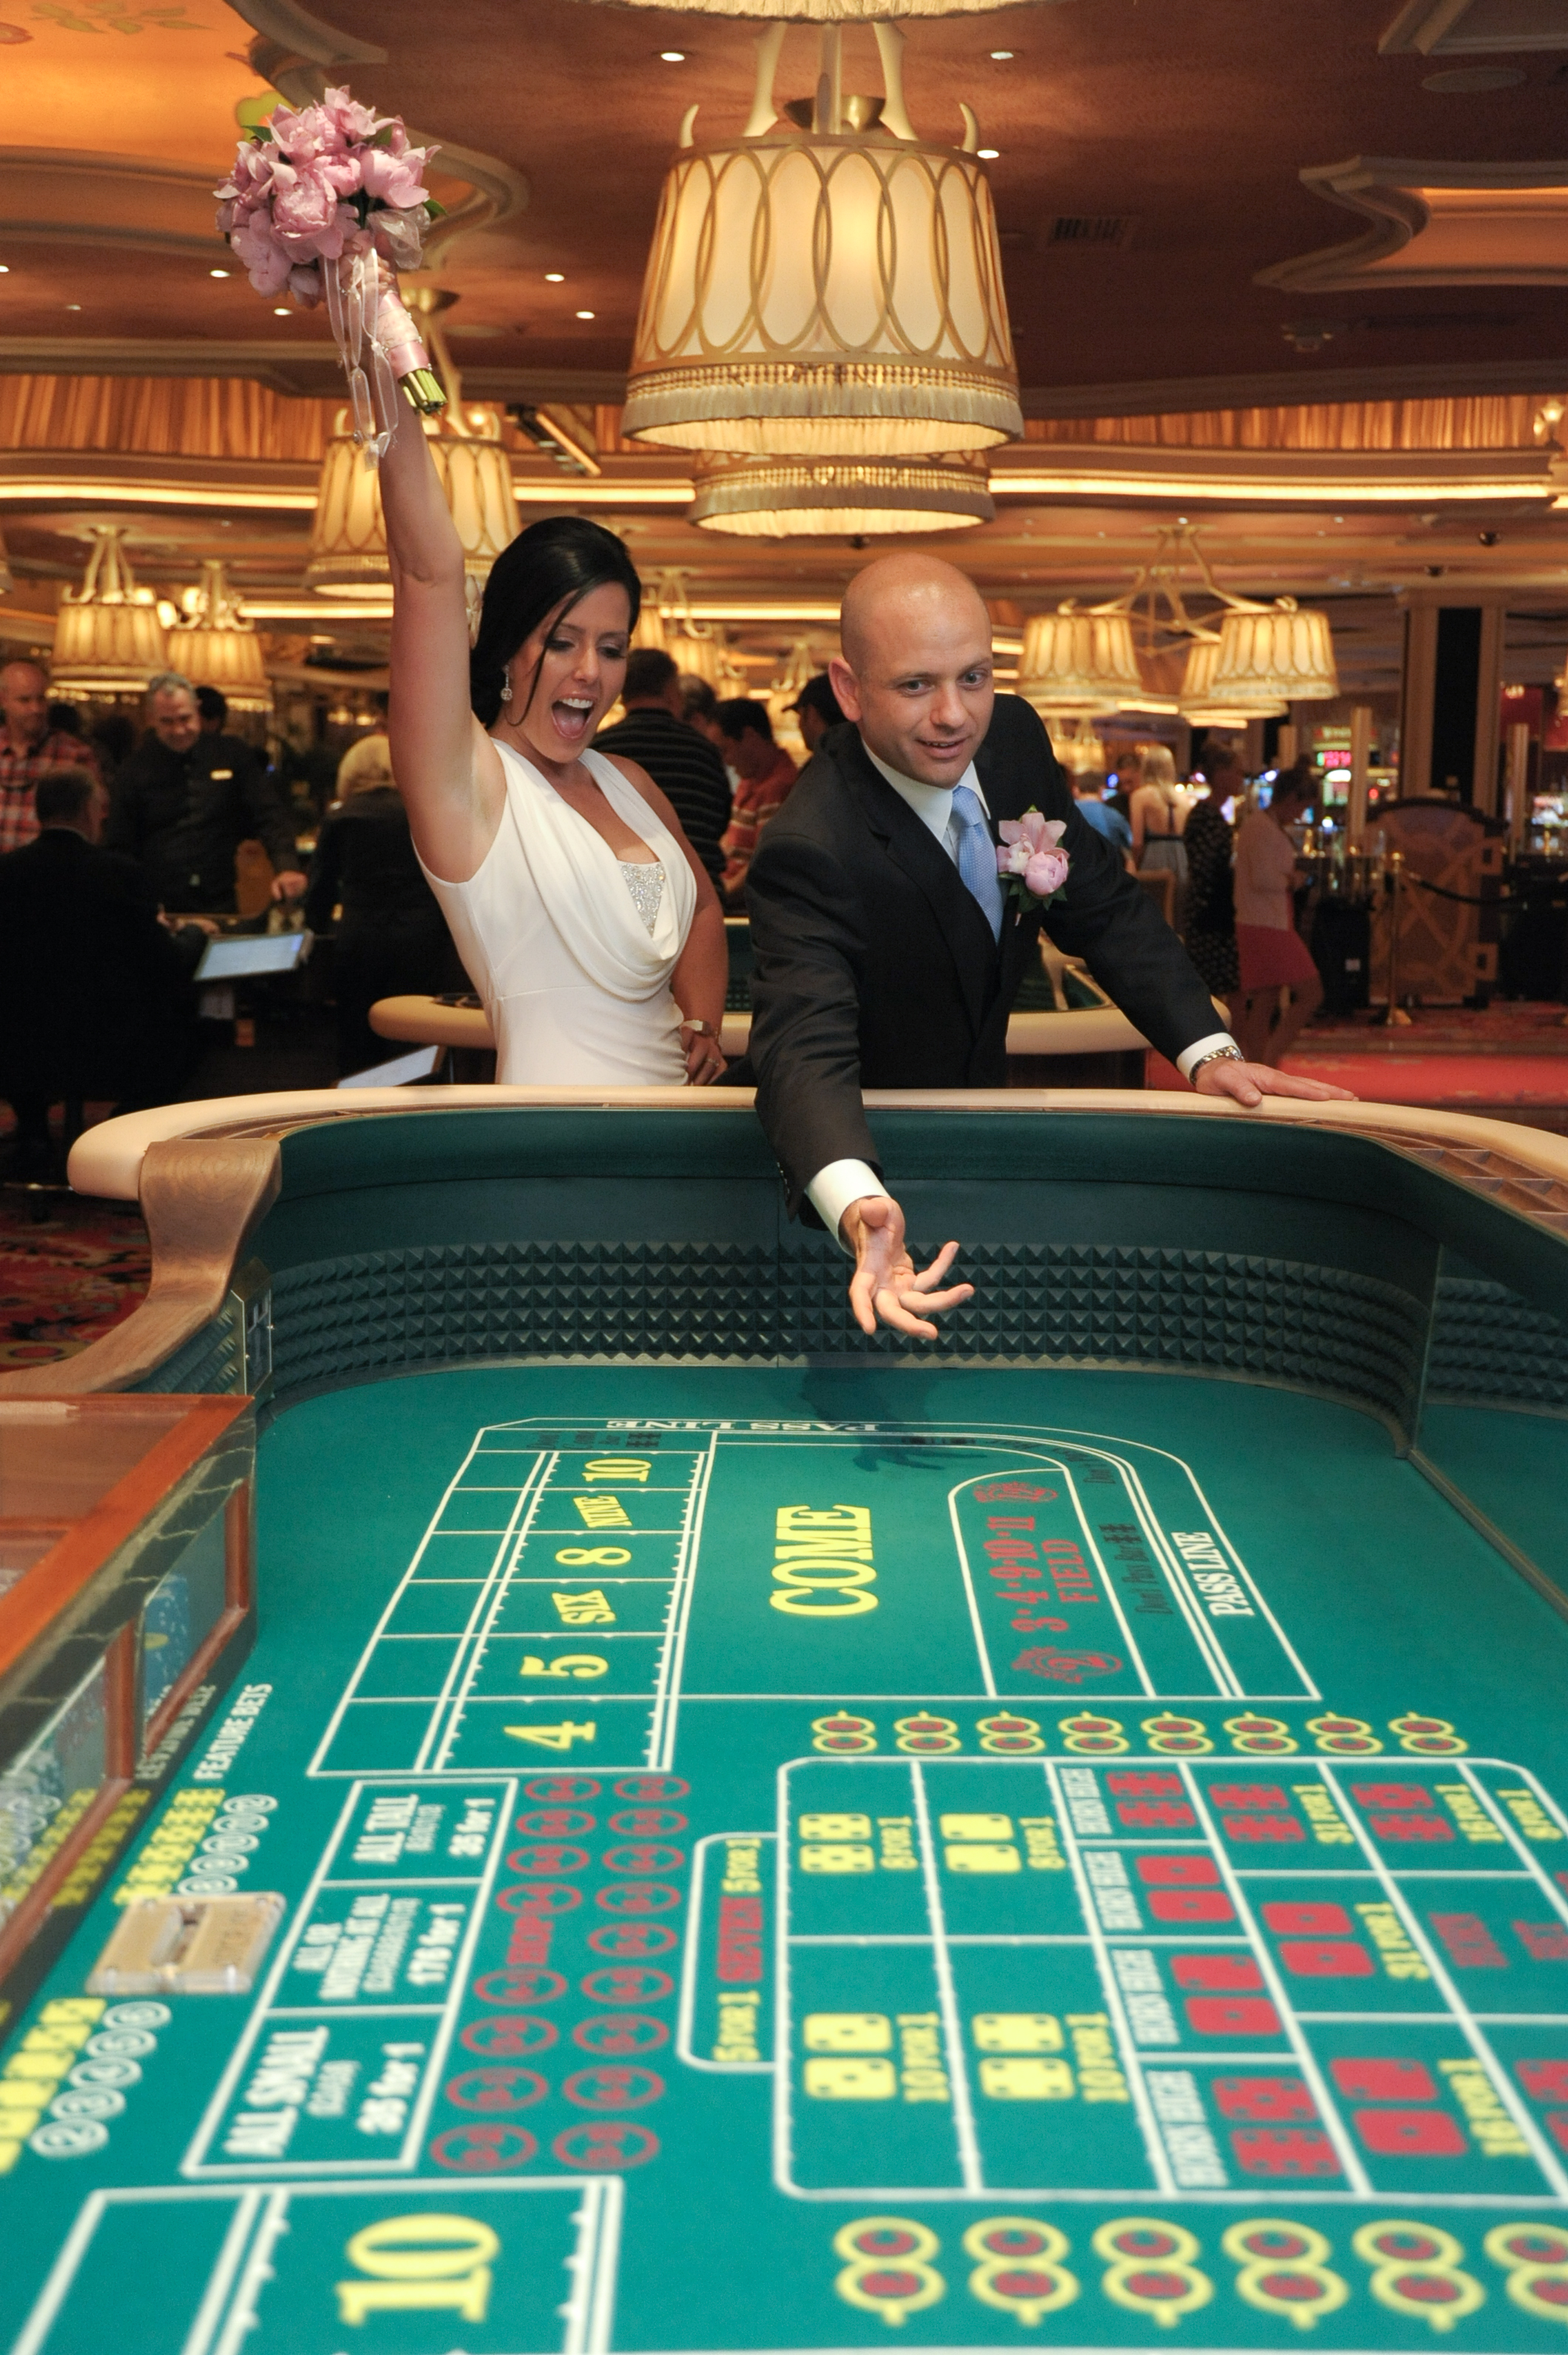
Photo 115
Photo 116